For myself, I always prefer baked mooncakes, compared to snowskin ones. I always find the snowskin too sweet for my liking. The lotus paste itself is already pretty sweet, snowskin, well, has high sugar content too.
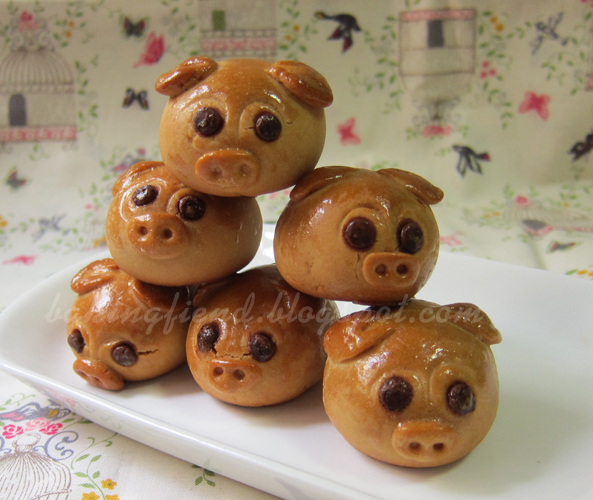
These are the baked mooncakes I did. I also made some piglets. The mooncakes are single yolk ones, as I am not a yolk fan and it's high in calories and cholesterol. As for the piglets, they are only 35gms each and contain no filling.
Well, for the coming weekends, I SHOULD be making some agar agar mooncakes.... if i really made them, I'll definitely be posting the pics. :P
 |
| stacking them up, like in an angry bird game |
 |
| The back view is so cute. lol |
Labels: Chinese Pastry, Festivals, mooncakes